1. DIY Luggage Tag!

    December 16, 2012

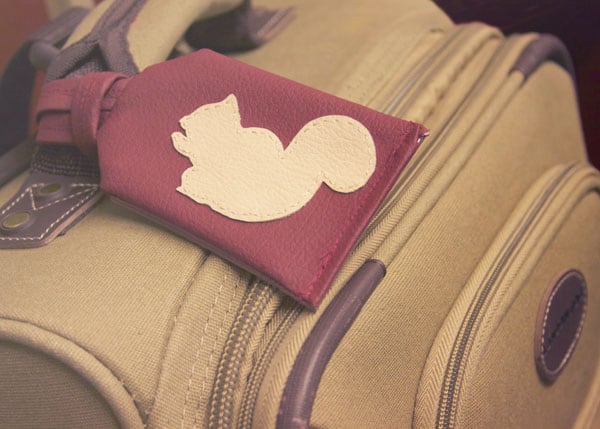
    I’m sure all of you are done with buying and making your Christmas gifts (unlike me!), but if you’re still looking for a cute little something, might I suggest an applique luggage tag? It’s perfect for the wanderluster in your life, and you can customize the applique silhouette to their interests! It doesn’t take long to whip up and is a lovely homemade gift. Read on for the step-by-step instructions and printable template.

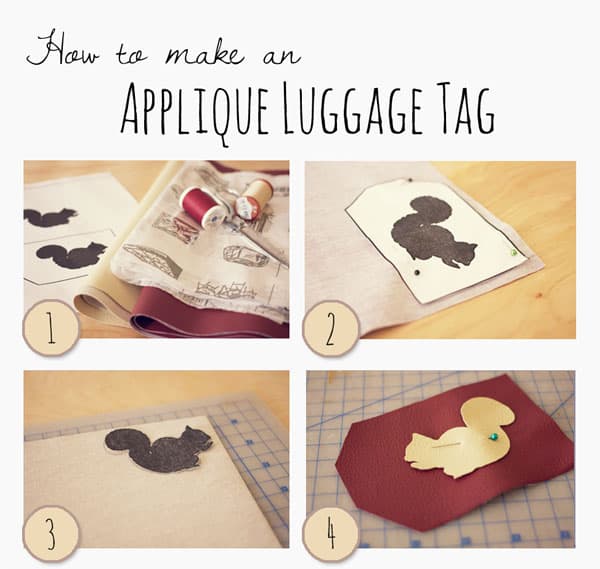
    1- First things first, gather up your materials. You’ll need:

    -sturdy fabric to make up your base
    -fabric for your applique
    -clear vinyl
    -tissue paper
    -matching thread
    -needle
    -sewing machine
    -pattern which you can download HERE

    For both the base fabric and the applique, I used naugahyde (fake leather) so that it would stand up to the wear and tear of travel. You don’t need much, either, I had a 1/4 yard of each and I had more than enough! I’ve included the silhouette I used, but you can always draw your own in the blank template to make sure it fits. Some fun ideas could be a crown, a heart, or their initials. Go wild!

    2– Use the pattern to cut out two tag shapes from your base fabric. These will make up the body of your tag. Cut out one rectangle shape from the clear vinyl using the template. This will become the slot that houses your information in the tag.

    3 Use the silhouette pattern to cut out one shape from your applique fabric.

    4- Pin this silhouette onto one of the tag shapes. Using your matching thread (or contrasting for a different look!), neatly hand stitch around the edge of the shape, making sure it’s secure.

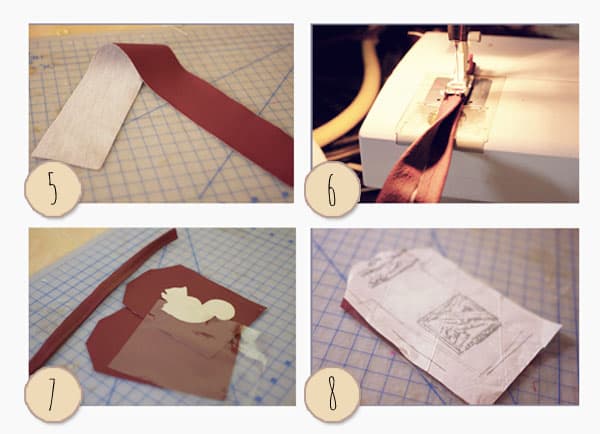
    5- Using the pattern, cut out the long rectangular strip. This will make up the loop of the luggage tag. Feel free to make this longer than the pattern, as the longer it is, the easier it is to take on and off.

    6- Fold in the two long edges of the rectangle about 1/4 of an inch and iron flat. Test out your iron on a piece of scrap fabric first! If it burns it, you can sew your edges in rather than ironing them down. Then, fold your rectangle in half lengthwise again so that you have a long, skinny strip of fabric. Sew this down the middle.

    7- This is what you should have so far!

    8- Place your rectangle of vinyl on top of the base of the tag without embellishment, making sure to line up the bottom edge. Place a sheet of tissue paper on top and pin down. This will allow the vinyl to go through the sewing machine without any trouble! Stitch along the three dashed lines in the pattern. This makes the slot for you to put your information card in.

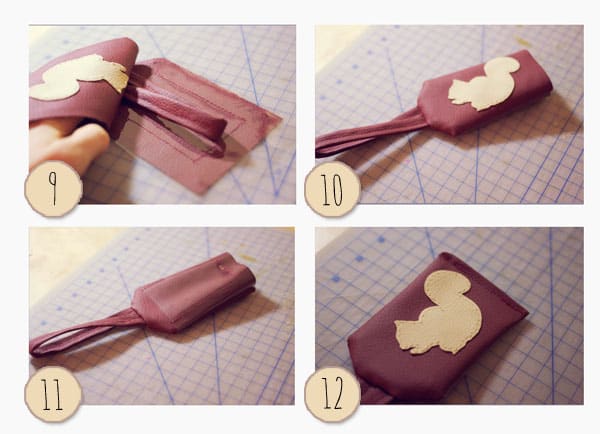
    9- Fold your strap in half and place it between the two tag pieces. Make sure that the outsides are facing each other! Sew the top edges together, leaving the bottom open.

    10- Flip the tag right side out. This is what you should have!

    11- And this is what the back should look like. 

    12- Fold in the bottom edge of the tag and stitch it down. And voila! You’re done. This would make an absolutely lovely gift paired with a travel journal or make an airplane survival kit with an eye mask, earplugs, and a nice hand lotion (under 3 fl oz of course)! Or you could always keep it for yourself ;)

  2. Stripes and Snow

    December 9, 2012

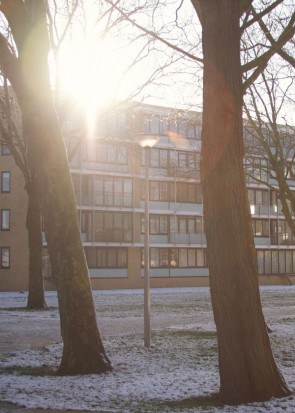
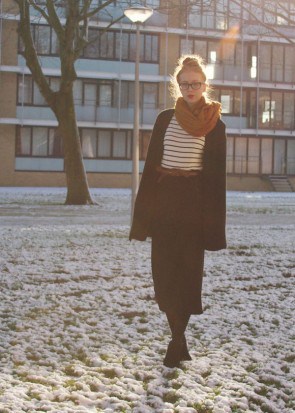
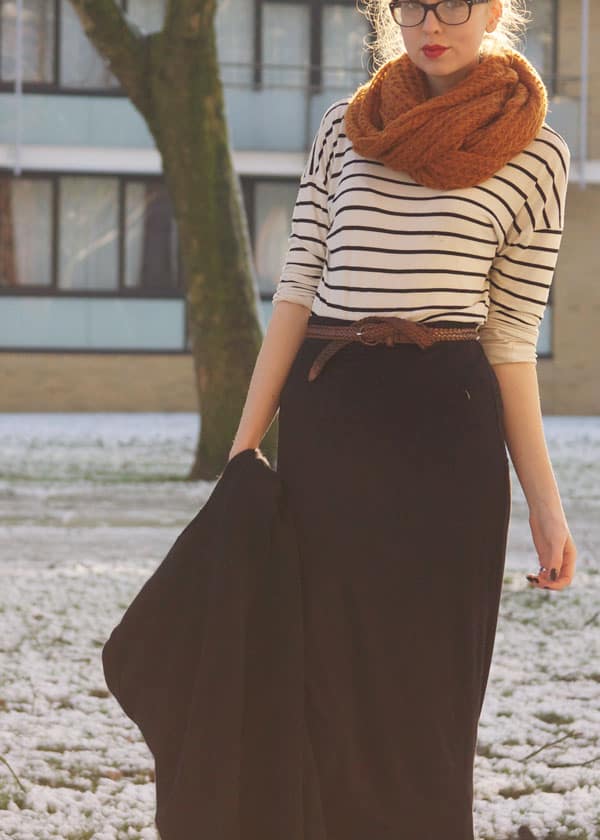
    This is what’s left of the so-called blizzard that blew through Holland yesterday. It’s still at the stage where everything is lovely and glistening, but it’s quickly turning to slush. I do love the concept of snow, but I’m not so fond of it in reality. Sure, I’ll go out and frolic for a bit when it first starts falling, but I much prefer to watch it snow from my room with a cup of tea. And, to make matters worse, I always seem to fall when I attempt to walk in the snow, no matter how deliberately I step. So despite my best efforts at staying warm, I always end up with a soggy bum.

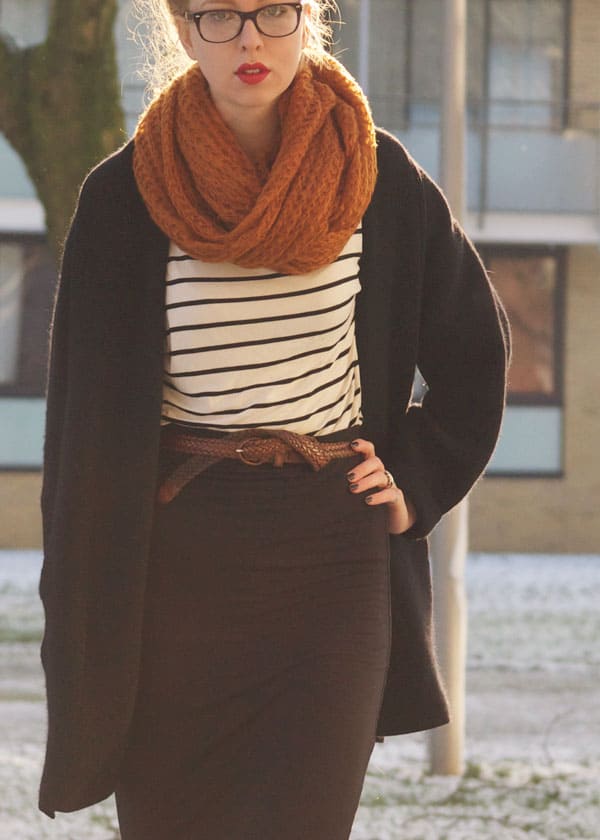
    I feel like I’m hitting up the blogger cliches with this outfit– stripes, mustard, topknot, red lips– but it can’t be helped! I was trying to channel a Swedish vibe, and clearly all bloggers are obsessed with Sweden. The reason for this Scandinavian style? I’m going to Stockholm for the upcoming weekend! You have no idea how excited I am, Sweden has been the place I most wanted to visit and I feel like it’ll be absolutely magical during the Christmas season! I can’t compare to those effortlessly cool Scandinavian ladies, but I can try. It does get hard to look effortless when you wear approximately 4 sweaters and a puffy coat, but hey, I’m from Hawaii. I get cold.


  3. Busses and Boats

    November 25, 2012

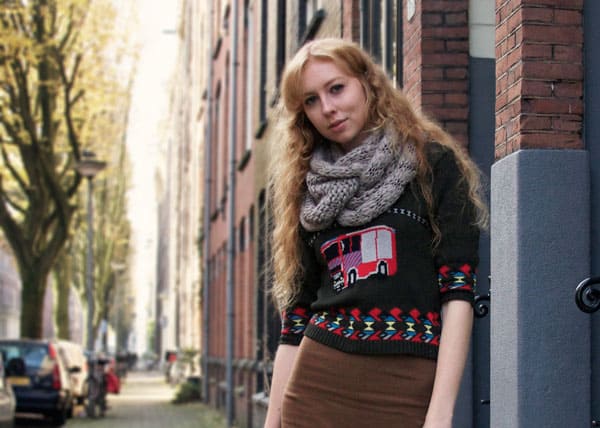
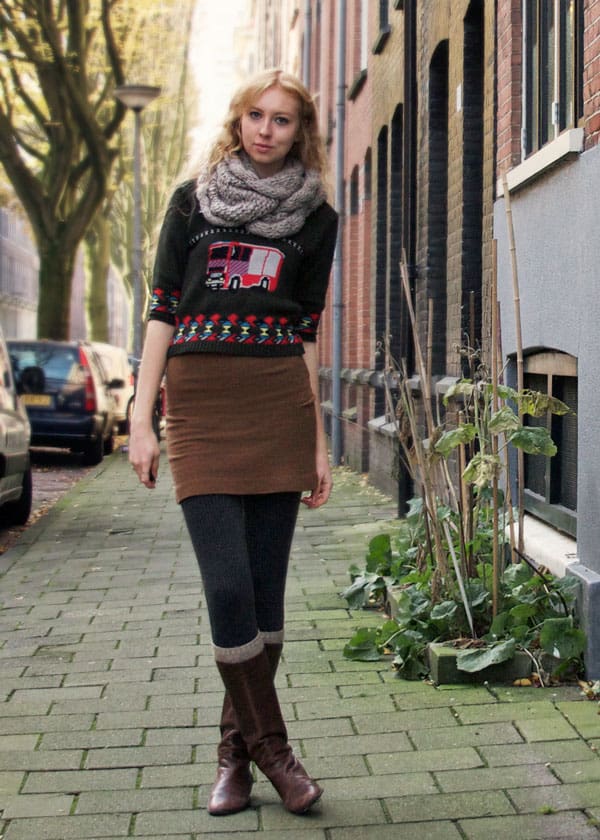
    I’m really loving the fall colors lately and its definitely showing in my outfits. I got this vintage sweater the other day at the Waterlooplein flea market. It’s a bit ridiculous, but sometimes a girl just needs a shirt with a bus on it. It probably used to belong to a 10 year old boy– nothing wrong with that! I do sometimes wish that I could have a more defined sense of style, but I just like to wear too many different things. One day I’ll want to dress in all black with stompy boots and the next I’ll be wearing lace with flowers in my hair.

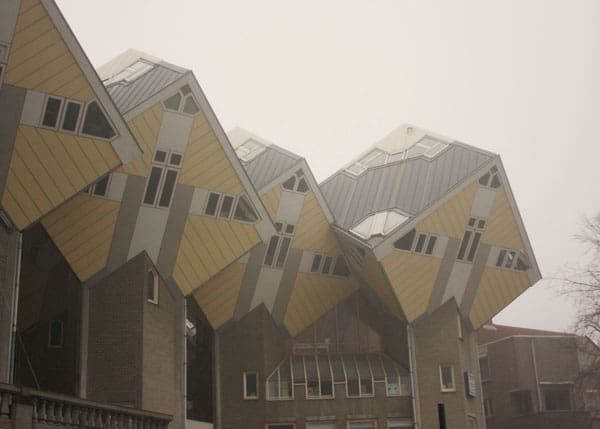
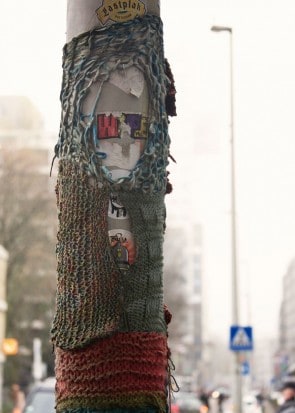
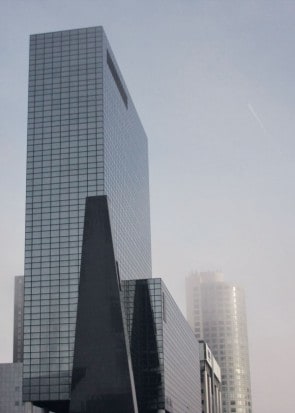
    I went to Rotterdam with a couple of people from my study abroad program yesterday. It was… an experience. It was a nice enough city, but I do much prefer my cities old and historic. Honestly, I think I’m just a country girl at heart. Rotterdam just felt much too modern to me. We took a walking tour of the city, which was interesting, and I got to visit the cube houses that I had heard so much about. They were fascinating and truly an example of adapting to a difficult living space. I can’t complain about decorating my little dorm room, at least I have vertical walls! I don’t think I could manage in such an awkward space, though– the stairs were ridiculously steep and I did bang my head quite a few times on the sloped walls.

    The famous cube houses

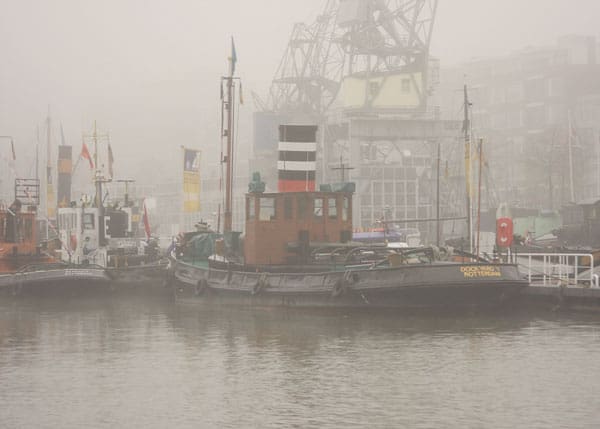
    It was so foggy by the end of the tour that we could barely see anything.
    It made for a great atmosphere down at the harbor, though!


  4. Shoot with Elena Pasca!

    November 15, 2012

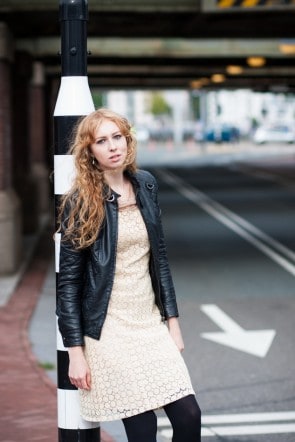
    So, you know how I mentioned doing a shoot a couple months ago? Well, I’ve finally gotten around to posting the images! The photographer was Elena Pasca who was absolutely fantastic to work with. She has such a great energy and a really unique eye. Do be sure to check her out! It was absolutely freezing during the shoot (what’s new?), but I think we managed to get some really fun shots despite the terrible weather. Luckily, it didn’t start pouring until my bike ride home…

    This shot makes me think of the cover of a young adult novel ;)


  5. Paris Part Two: Living like a Queen

    November 11, 2012


    Our second day in Paris consisted of much sightseeing and wandering the streets. We got our fill of culture, visiting the Arc de Triomph, the Louvre, and the Notre Dame. We managed to get a bit of shopping in as well! The Kilo Shop, in the Marais, is a must if you have a fondness for vintage. Racks of 60’s coats, polka dot skirts, and silk button-downs line the overstuffed store. You pay buy the weight of the clothes– it reminded me of the Goodwill outlet at home (affectionately known as the bins!), but artfully curated. It’s a bit overrun with cool French girls, naturally, but I did manage to snag a nice vintage sweater.

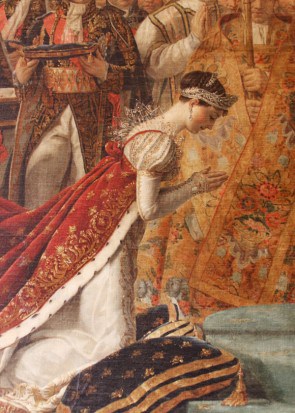
    The highlight of our third day in Paris was definitely our visit to Versailles. Despite the terrible weather (a theme for our trip!), we awoke bright and early to make our way to the palace. We were hoping to beat the crowds by arriving right when it opened, but I don’t think it’s possible to avoid the mass of tourists at Versailles. It was worth all the jostling crowds and unhappy children, though, as Versailles is absolutely stunning! It’s every bit as ostentatious as one would expect, with gold covering almost every available surface. I loved the paintings of Napoleon and Josephine. Apparently, he had no qualms about rewriting reality for the sake of a better image– he ordered that his mother be painted into a coronation scene even though she refused to attend. The rooms were gorgeous as well, particularly Josephine’s bed chambers. I must admit, I could get used to living like that. The maid service wouldn’t hurt either ;)


    After Versailles and a bit of a rest, we headed back out to the center of town. As it was our last day, we decided to treat ourselves to a nice little French restaurant where I paid far too much for a plate of undressed lettuce and hot water (they ran out of tea– how is this possible?!). I would not recommend the French cafes near the Eiffel Tower if you have any food allergies. They tend to cater towards tourists and I think they get fed up with their “incompetence.” At this point, though, I was so enamored with Paris that I didn’t even care.

    After our little dinner mishap, we headed down to the banks of the Seine to take an evening tour along the water. I would highly recommend this! It’s even better if you’re tough enough to brave the open-air section of the boat– we were so chilled that we stayed inside the whole time. While the view wasn’t quite as nice, the boat had large windows that extended all the way across the ceiling. Nothing is so beautiful after a weekend in Paris than seeing the Eiffel Tower sparkling from on the water. It really was an amazing trip and I already want to go back!

    What to See:
    -Versailles: It’s a bit of journey outside Paris, so be sure to pencil in a couple of hours! The palace is open everyday from 9 am to 5:30 pm.  Website

    What to Do:
    -Vintage shopping at the Kilo Shop: 69 Rue de la Verrerie, 75004. Website
    -Boat Tour: We took a tour with Bateaux Mouches, but there are a bunch that you can choose from that all depart from the Eiffel Tower. Website